Considering how popular Minecraft is, one can expect it to have some of the best co-op features of any mainstream game. And while it does definitely hold up in this department, it can be a bit tricky getting your own private server up and running. Realms are Minecraft’s easy solution to co-op play, where you can pay to have Minecraft take care of hosting and creating your server for you. However, some players prefer to have a free local server that they host themselves. Here is how to make that server and how to have your friends connect to it once it’s up:
How to create and connect to a local Minecraft server
Step 1: Make sure you have the newest version of Java installed.
Step 2: Download the Mojang Minecraft server software (you’ll need to keep track of whatever folder you download this to, as there will be multiple programs from the software you’ll need to access. You should create your own folder to keep all of these in).
Step 3: Run the .jar file from the software you downloaded
From here the instructions branch off depending on whether you have a PC or a Mac.
For PC:
Step 4: There will be a text document created called “eula.txt”. Open this in a text editor like Notepad, and change “eula=false” to “eula=true”.
This is you accepting the terms and conditions of Minecraft.
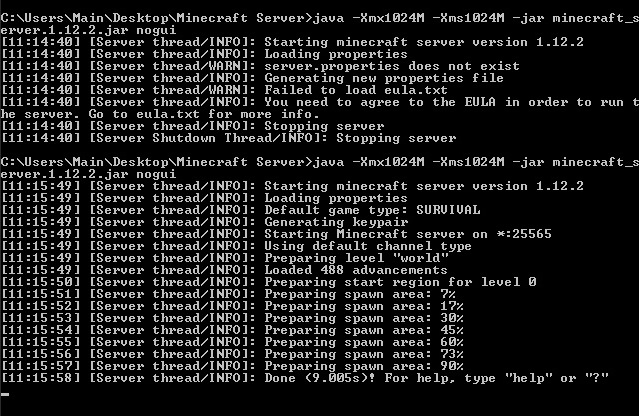
Step 5: Go to your computer’s command prompt and type the following
java -Xmx1024M -Xms1024M -jar {server file name}
Replace server file name, with the name of your server’s file (this can be found by copying the file location of the .jar program). If you want to disable the graphical user interface (GUI), you can add “nogui” to the end of this command line. Players have reported this lowers CPU and memory usage.

Step 6: While this is optional, you may want to create a .bat file with the same command used above, in order to quickly access the server, instead of needing to open the command prompt each time. For the .bat file you can use the command:
@Echo Off
java -Xmx1024M -Xms1024M -jar {server file name}
If you’ve completed step 5, then your server should be fully functional. Other players connected to your home network will be able to connect directly to the server.

Notepad++FREE DOWNLOAD8
For Macs:
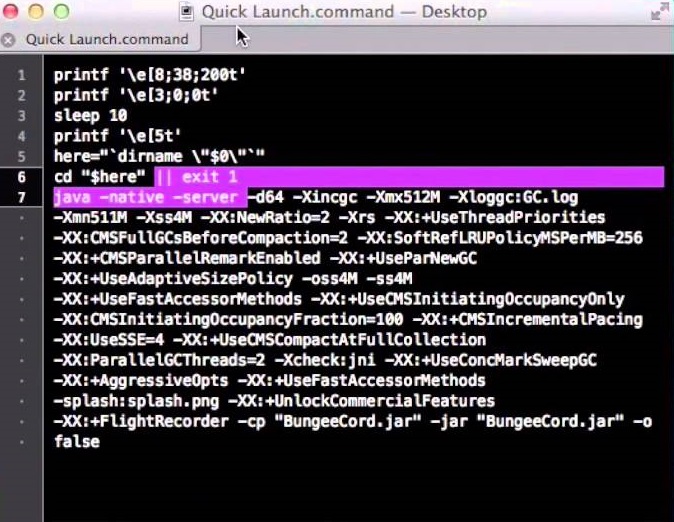
Step 4: Open a text editing program like TextEdit and input the following:
#!/bin/bash cd “$(dirname “$0″)” exec java -Xms1G -Xmx1G -jar {server name}
Server name should be replaced with the file location of the .jar file. You can choose to add nogui at the end if you’d like to remove the graphical user interface (GUI). Players have reported doing this used less memory and CPU.
Step 5: Save this document as “start.command” in the same folder as the .jar file.
Step 6: Open the Terminal program, and type:
chmod a+x
And make sure there is a space after the x. Then drag the start.command file into the Terminal window. This will give executive permissions to the start.command program. Once done, you can simply click start.command to open your Minecraft server.

Hosting a Minecraft server can take a bit of a toll on your computer. We recommend you avoid trying this on a laptop, unless it’s a high-end gaming laptop, and even then you may prefer hosting on a desktop instead.
These instructions work for hosting a Minecraft server on your local network with other devices connected to that network. If you wish to host a server online, you’ll have to PortForward your router. It will take a bit of programming knowledge and your router information to PortForward your Minecraft server.

Simple Port ForwardingFREE DOWNLOAD6
Note: PortForwarding a server will also make your home network more vulnerable for strangers to access. If that’s something you’re worried about, you could pay a third-party hosting service to host your server instead, or you could create a Minecraft Realm. Realms are similar to local servers, but require a monthly payment and are hosted by Minecraft itself.
